Monday, January 23, 2012

demo ends!

The demo is complete!  Well, we still have to finish tearing up the old floor but doesn't seem like it will be much of a problem.  There are a few layers of flooring (pergo, laminate, etc.) but it all has been peeling off just as easily as our old wallpaper did.  Phew!  I’ve heard horror stories about having a horrible time trying to rip up old floors or uncovering significant damage so I am so relieved that this step has gone smoothly for us.

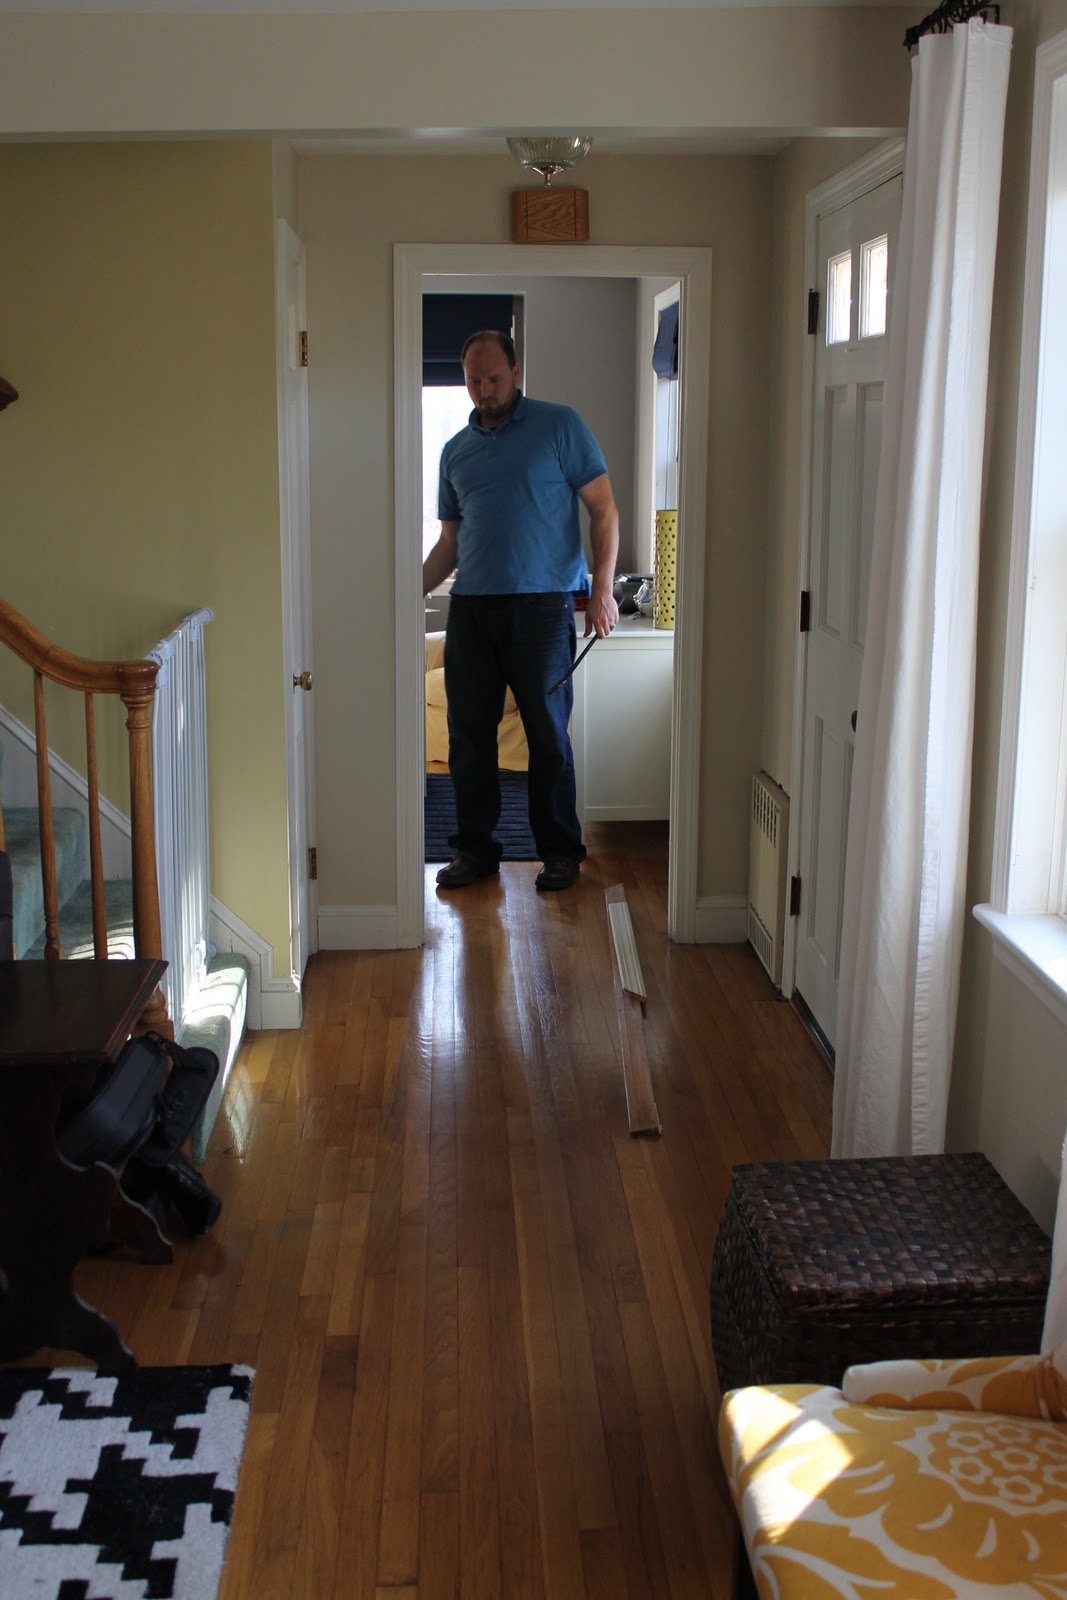
(in progress photos...)


We had gone back and forth on flooring options about 27 times.  At first, we wanted cork.  Unfortunately, cork flooring doesn’t offer many color choices.  We wanted something dark gray/slate in color and we weren’t able to find that in cork – at least not any local, affordable options.  Then we discussed tile.  Tile has countless color options but often has a fairly high price tag as well.  When looking at tile, the one thing I knew I didn’t want was a standard 12x12.  For some reason, that looks cheap and 80’s to me.  All of the non-12x12 tile I found that I liked was well over $4 a square foot.  That might not seem like a lot but when you are working on a tight budget, paying over $1,000 on a floor is a tough pill to swallow.  Then we explored the wood option.  The rest of our house has wood floors so it would have to flow with that.  It would be pretty difficult to match the color of the wood floors in the rest of the house so I would at least want to match the board width – that way it would all match and we could make the kitchen floors a contrasting color to look intentional as opposed to glaringly obvious that we installed those wood floors separately.  Because the flooring in the rest of our house is a narrow 2 ¼ inch board, it somewhat limited our options.  We almost pulled the trigger on dark, almost black, oak floors but thankfully second guessed ourselves and found a better option that we both love. 

We were actually headed out to run a few errands and order our wood floors when we decided to check out a tile shop that my brother had recommended.  Right when we walked in, we heard one of the sales reps talking to another couple about a 20x20 inch gray tile and it’s exceptional quality.  Then I heard him say “$2.99 a square foot”.  I gave Joe the “cha-ching!” look and darted over to see the tile that they were discussing.  It was amazingly perfect.  It is mostly gray but has some subtle beige/ivory veining.  We immediately nixed all other flooring options and decided to go with this tile.  I should also point out that I’ve visited several flooring shops over the past couple months and 99% of the people I have dealt with were total jerks.  Perhaps all of the other places that I visited were used to dealing with contractors and a chick that is DIYing a 200 sq ft kitchen isn’t worth their time but I don’t think that excuses their jerkyness.  I don’t know the laws about internet bashing so I will refrain from listing those stores here but I will say that everyone that helped us at Best Tile was beyond informative, friendly, not-pushy and didn’t make us feel stupid for asking lots of questions.  They were such a breath of fresh air after our other experiences!

(colors are coming across slightly off on my computer but here's our choice...)

Anywho, now that we decided on tile as opposed to wood, we also resurrected the idea of installing an under-floor heating system.  Long story short, we voted “yes” on that option and the heating unit should be delivered within the next week.  I obviously don’t have every installation detail yet but the fella at the tile shop promised that it is installed in three easy steps:  1.  Trowel thinset on subfloor 2. Roll heating mat onto thinset and 3. Trowel thinset over mat and install tile as usual.  We even found out that many people use these under-floor heating systems in lieu of baseboards as a heat source.  While we aren’t planning on getting rid of our baseboards in the kitchen, it’s nice to know that it’s an option and that this will heat more than just the floors.  (For more info, here is the type we purchased:http://www.nuheat.com/home.html)

I plan on spending lots of time on my warm, cozy, kitchen floor like this lady...

And lounge around in spandex while enjoying my warm, cozy floor wayyyy too much like this chick...

In addition to deciding on flooring and ordering our under-floor heating system, we also tore out the rest of our cabinets, painted the ceiling, and installed new recessed lighting trim over the weekend.  The old trim was beige, looked dingy, and didn’t “go” with our soon-to-be white kitchen.  The ceiling had previously been painted after the cabinets were installed so the ceiling was brown in the areas where we tore down the uppers.  It took a few coats of stain-blocking ceiling primer and paint but the finished result looks so clean and crisp!  I also ordered two pendant lights – one for over the sink and the other to replace the light that is currently dangling in front of the windows on the opposite wall.  Pendants were ordered from www.thelampgoods.com (she’s also in Etsy: http://www.etsy.com/shop/LampGoods).

Progress feels so good!  (On the other hand, washing dishes in our bathroom sink blows.)

Next steps:
·         Finish removing old floor
·         Lay under floor heating
·         Lay new tile
·         Install new cabinets
·         Install new appliances
·         Measure for and install new counters
·         Finishing touches – paint, backspash, etc.

We hope to be done by the end of February but that all hinges on how soon we can get all of our flooring supplies delivered and then how quickly the countertop-people can come template, order, and install the counters.

I think it’s also important to note that nobody has been physically or emotionally harmed in the renovation process – yet.  Joe and I have refrained from yelling at each other, throwing power tools, or wishing death upon each other.  In fact, it’s actually been a fun process so far – and I reallllly hope I didn’t jinx myself by writing that.  I figured I would have jinxed myself by thinking it and then purposely not writing it so by writing it, I un-jinxed myself.  Get it?

Wednesday, January 18, 2012

demo begins!

Last night we put James to bed and started chipping away at the kitchen.  Our cabinets were emptied with the exception of a few essentials that we need to have on hand for a picky toddler.  We then tore down one corner of cabinets as well as the laminate (?) backsplash.  It instantly made the room feel twice as large and twice as bright.  I'm now even more happy with our decision to put open shelves on this wall!  As I hinted at in a previous post, we will also be adding storage to the opposite wall that you see below.  Floor-to-ceiling narrow cabinets will go along the wall to the right where that plant stand/James' bag and jacket stand currently sits:

Here is one of the cabinets that we ripped down.  These suckers are even heavier than I predicted them to be!  Here you might be able to get a better idea of how annoying it would be to store and access any items in this cabinet.  Behind those braces, its just one big open space but we would have to snake around those braces everytime we needed to pull something out.
Our goal is to have the rest of the cabinets out by this weekend and start on re-painting our ceiling and prepping the walls.  Woo!  These baby steps are so gratifying yet make us so anxious to get more done!

Tuesday, January 17, 2012

why new?

Several people have asked why we decided to get new cabinets instead of just painting and/or repurposing the originals.  Like I've mentioned, the original cabinets are solid.  They are good quality and in good shape - they just don't make sense to us.  In order for them to work for us, we would have to make far too many adjustments.  Let me explain...

See all those upper cabinet doors?  Yes, there are a few more than there needs to be and it's almost as if a few are on backwards.  A seemingly easy fix would be to remove the doors and just replace with larger ones.  We were originally going to take that route but after further inspection, we decided against it.

Those lime green lines mark a support brace that is a part of the cabinet frame.  We would need to cut those all out in order to make the cabinet space and doors more efficient.  While it's do-able, we didn't want to compromise the structure.  Also...

...in order for our new, taller, wider fridge to fit into the space, we would need to shorten the cabinet that is currently over the fridge.  (For perspective, the fridge you see in the pic above is an apartment size.) We also want to scootch our new fridge to the right a bit to give us a little extra elbow room when entering the room through that door.  Moving the fridge to the right would require us to remove those cabinets, or at least adjust to make them smaller.  Again, those tweaks are probably do-able but since we're going at this kitchen ourselves, I'm not confident enough in our cabinet remodeling skills.

We will also be installing our new microwave a few inches higher than the existing.  That would require us to make the existing cabinet smaller.  Because all of the cabinet frames on that wall are one large, single piece, adjusting that cabinet would cause a chain reaction of adjustments that we wouldn't want to take responsibility for.

As far as the other end of the kitchen goes...
...we are removing all of the upper cabinets that I circled in the picture above and replacing with open shelving.  The lower cabinets will be replaced with a proper corner cabinet and a large bank of drawers for easier access.  As it is now, it's close to impossible to grab anything from these cabinets without crawling halfway in first.  I'm curious to tear these out and see what might be hiding in that dark corner - perhaps my small cast iron pan that I haven't seen in months?

So, with all of the adjustments that would be required along with building new doors, sanding, priming, painting, etc., we came to the conclusion that we will rip all these suckers out and replace with a new cabinet layout that we were able to design from scratch.  Our plan is to move some of these cabinets into the storage room behind our garage or into the basement.  Whatever we don't re-use, we will try to sell for some extra cash.

Because of the countless number of available options, positive reviews, and, of course, affordability, we opted for Ikea cabinetry.  For some gorgeous kitchen photos and a descriptive explanation of Ikea cabinetry, check out this site:  http://carolreeddesign.blogspot.com/2009/10/why-i-love-ikea-kitchens.html.  So far, they have exceeded my expectations.  We mulled over several design options by using their online design tool (so fun!) and then the beyond informative in-store kitchen expert helped us to make some final adjustments.  All of our cabinetry was ordered on Saturday and delivered on Monday - all 113 pieces.  While I'm excited for the final result, I am less than excited to put it all together but I will constantly remind myself that doing this ourselves is saving us thousands.

Below is a quick sketch of our new cabinet layout that might help to show most of our changes.  While most are minor, our hope is that we will benefit from a significant increase in useable storage.  The opposite wall (not pictured) will also include new storage solutions but I'll get to that explanation another time!


In related news, I also ordered our new sink and faucet over the weekend from Overstock.  We are going with a 30" undermount, single bowl, stainless sink and a pull out faucet.  They should be delivered this week so fingers crossed we love them in person and they work for our space!

Our next steps are to (1.) start putting our cabinets together so they are ready to be installed as soon as we finish the demo.  (2.) Demo.  (3.)  Lay new floors.  (4.) Install all of our new cabinets and appliances.

Our hope is that we can get most of the demo done this weekend.  Fingers cross that we can stick to our probably-too-ambitious time schedule!

(Attention:  If anybody is interested in any of our existing cabinetry or appliances, please let us know!!!)

Sunday, January 15, 2012

step one.

I guess there were several steps that preceded step one but, yesterday we completed the first step to officially get our kitchen remodel underway. After spending months researching our options, we finally decided on cabinets and appliances.

To back track a bit, we struggled between modifying our existing cabinets and replacing them all together. The original cabinets are solid, custom, and still in good condition. On the negative side of the chart, they make no sense. Each cabinet holds about half as much as it could because of the way the doors and supports are placed. There is way too much wasted space. Pictures wouldn't explain this so just take my word for it! After drawing out plans to modify our existing cabinets, it was clear that there would be way too many structural changes (we can handle the cosmetic changes). And since we're doing this ourselves and on a very limited budget, paying a carpenter to make the complicated tweaks wouldn't make sense when we could buy all new cabinets a reasonable price. So, after more research (that's putting it lightly) we purchased our new cabs yesterday. They are scheduled to be delivered this week so we will share more details once we get them and move onto the next step.

Part of our hours days weeks months of research included laying out a plan that would leave us without a functioning kitchen for as little time as possible. An average day with a 15-month-old is chaotic enough and I dont expect living in the middle of a construction site to help very much. Once we demo our existing kitchen, we want to have everything lined up to be able to put it all back together as quickly as possible. For that reason, we also ordered our appliances. They can be delivered whenever we're ready for them as long as we give the company a day or two notice. Again, after studying all options, we went with a full suite of Fridgidaire appliances - stove, counter-depth French door fridge, dishwasher, and microwave. There are several steps that need to be completed before we get to the appliance installation so we'll give more details on that when we get there.

Our plan for the near future includes:
- demo: remove existing cabinets, floor, etc.
- install new cabinets
- install new appliances (we will slide out afterwards to lay floor)
- install new countertops (they have to be measured for after cabinets & appliances are in place)
- lay new floor (floor won't go under cabinets but will go under appliances)
- paint, tile backsplash, lighting, finishing touches

Sounds pretty simple, huh?! Yeh, right. I'm not kidding myself - I totally expect the next several weeks to be exhausting, stressful, and involve a lot of swearing. Our schedule above doesn't list all of the bumps that we expect to encounter - nor does it list all of the bumps that we don't expect. It is just a very rough framework but we will try to document and share whatever we have time for along the way!

Sunday, January 8, 2012

the one where they built a wall...

As expected, the past month has been pretty hectic and we haven't got much done around the house.  We're getting closer to finalizing plans for the kitchen so now it's just a matter of saving a few extra bucks and scheduling each step of the remodeling process so that we are without a functioning kitchen for as little time as possible.  I'm already dreading the stress and patient discussions (a.k.a. arguments) in our near future.

In the meantime, I decided to close off one of the doors that is in James' bedroom.  The previous owners of our house used this room as a den/office space but, now that we've switched it into a bedroom, the extra wall space means more to us than an extra door.  Besides, I prefer James not have such easy access to the front door - if he's going to sneak out to meet friends at night, we aren't going to make it that easy for him.

Oh, and we still haven't gotten around to putting doors on James' closet.  We're planning on building a large barn door-type door on a track that will slide to the left when open - another reason I wanted to close off this doorway.
The other side of this door leads right to our front door and living room.  We've never used this door since moving in so I don't foresee us missing it.
We took the door off it's hinges and removed all of the trim and frame from the doorway - taking all of 5 minutes and a crowbar.

Next, we built a frame to fit the new hole with another stud centered in the middle for support.  This was then nailed into place.

We cut two pieces of drywall to fit either side of the doorway, taped, and mudded the seams. Voila...
We still have a little sanding to do and then will paint both sides - and hopefully there will be no indication that there was ever a door here!

In other news, I also bought two new rugs.  While I love the black and white rug that I originally bought for the living room, the high traffic caused it to shed more than we'd like - so we'll move this to one of the upstairs bedrooms.  I also wanted to get coordinating rugs for the living and dining rooms to tie everything together since it's basically one big room.  Warming things up would help too.  I found two rugs on overstock that I had to have.  I bought an 8x10 for the living room and a 5x8 to go under the dining table.  They arrived in less than a week and I love them!  I almost wish I bought another one for our bedroom but I'll rethink that once we're ready to fix up that room.

Now I want to make some new throw pillows and new curtains to go with the new look of the room...

This winter has been strangely mild so we've been trying to get out of the house as much as possible.  In between all of the running around the past couple weeks required, we managed to fit in a quick trip to the beach where James loved throwing rocks into the water and watching the surfers... 

We were also able to get away for a weekend and head up to New Hampshire for some R&R - well, as much R&R as one can get with a 14 month old running around.


We hope everyone had a great holiday season and will have an even better 2012!