Thursday, February 9, 2012

Wednesday night progress

Because our appliances are being delievered tomorrow, we wanted to ensure that the majority of the cabinet installation was complete before then.  We spent a couple more hours last night in the kitchen and, while it might look more chaotic than when we started, we actually got a lot accomplished.

The previous night was spent hanging the suspension rail along with most of the uppers.  Last night we started on the base cabinets.  The base cabinets come with adjustable feet that can be tweaked post-installation to ensure that everything is nice and level.  To make things easier on ourselves, we decided to install a ledger board that the back edge of the cabinets would rest on.  While many resources said that the legs were sufficient, we figured that starting with a level ledger board would give us an advantage in the cabinet-leveling game.  Because the floors and walls aren't completely straight, installing the ledger board wasn't the easiest of tasks.  Well, installing it was easy - figuring out where it should go was the hard part.  We didn't want it too high to create a noticeable gap between the bottom of the cabinets and the toe-kick and we didn't want it so low that we'd be hunched over our countertops for the next 50 years.  Once we found the sweet spot, we screwed the ledger board into the wall studs and the base cabinet install was fairly simple.

Admittedly, we only installed the two corner base cabinets because we need to make a few other tweaks in other areas first but those corner cabs are beasts!  We checked for level about 50 times and made minor adjustments to the leg height.  Joe was amazed that despite the right side of our kitchen being an entire inch higher than the left, the cabinets on either side of the room are completely level and at the same height.  One of these days he will give up on second guessing all of my ridiculous ideas and mathematical gibberish and just accept that I’m a genius.  ;)

We have to make a few more plumbing adjustments and will then install the sink cabinet under the window below.  There will then be a narrow cabinet to the right of the sink where we will eventually construct and install small drawers.  The cabinet to the right of the corner cabinet will be installed this weekend after we make adjustments to that opening to the right.  As it is now, the cabinet fits in that space but would hang over the trim work and look icky.  I wanted the largest possible bank of drawers in this space so making that doorway a couple inches smaller will be totally worth the extra storage space.  (That doorway is about 5ft. wide anyways so two inches won't make any difference.)  You will also see that the cabinets aren't totally assembled.  We only assembled the bases and will install the doors, drawers, shelves, etc. once everything is complete.  We don't want the appliance or counter installers to ding anything up!  (Photos below were taken from our iPad late last night so that's why they look a little hazy - we weren't rippin' it up with our rastafarian friends, I swear.)

We also secured the upper cabinets together so they are one, solid unit now as opposed to just being hung next to each other.  We didn't hang the other two uppers last night as planned because we didn't get around to moving the electrical box.  We think the new microwave will require a different outlet so we want to check on that before making any moves.

We have other things going on and won't be able to do any kitchen work tonight but we plan to kick things up a notch (BAM!) tomorrow night and over the weekend.  Our counters are being templated Monday morning so every base cabinet needs to be completely installed and in it's final location before then!  Yes, we work best under pressure.

Tuesday, February 7, 2012

cabinet beginnings

Just a quick update before my brain explodes or falls asleep - not sure which will come first.

We spent a couple of hours tonight installing the beginnings of our new cabinets.  As mentioned previously, we slowly assembled the cabinets in our garage over the past two weeks and they were queued up, ready for installation.  (Note:  the cabinet assembly portion of the show was super easy - I'd say maybe 10 minutes per cabinet?)

As predicted, the hardest part (so far) of our installation was the suspension rail.  We had to determine the perfect height, the correct length, make sure it was level and spanned the required number of studs, and confirmed that it would produce an end result of our various-sized wall cabinets being at the same height.

Several blank stares and a few eye rolls later, our suspension rail was up.  After that, hanging the cabinets was easy.  We just have two more wall cabinets to install - the one above the stove and the other just to the right of the stove.  We need to move an electrical box before installing those so hopefully we can get those taken care of tomorrow night.  Once the remaining uppers are in and we attach the cabinet side-panels and the framing that will box in the fridge, we will proceed with screwing each of the cabinets together.  (Right now they are firmly attached to the suspension rail and bumped snuggly next to each other but they aren't screwed into one another.  We want to make sure everything fits properly and everything is 100% level before doing that!)

Here's a little reminder of what we started with:


And for now, this is the organized chaos that is our kitchen:


The cabinet on the ground under the uppers will eventually hang to the right of the existing wall cabinets - above the stove.  You might be able to see the exposed portion of the suspension rail in the picture above where this cabinet will hang (click on image to zoom).

The picture above also shows the sink cabinet.  We moved it into the kitchen to start measuring for cut outs that our sink's plumbing will require.  The sink cabinet looks a little awkward because it's resting flat on the ground.  All of the base cabinets will all be raised off the ground about 4 inches once they are officially installed.


As if it wasn't obvious, our new fridge will be installed under the long cabinet protruding from the wall in the picture above.  We will also be installing floor-to-ceiling side panels on either side of that cabinet to make the fridge appear to be built in.  We will also add some sort of filler/crown moulding along the top of all wall cabinets so that there is no gap between them and the ceiling.

Blehhh.  I'm already babbling about enough random details for my brain to handle right now.  Time to beg for a back massage...

...and in with the new!

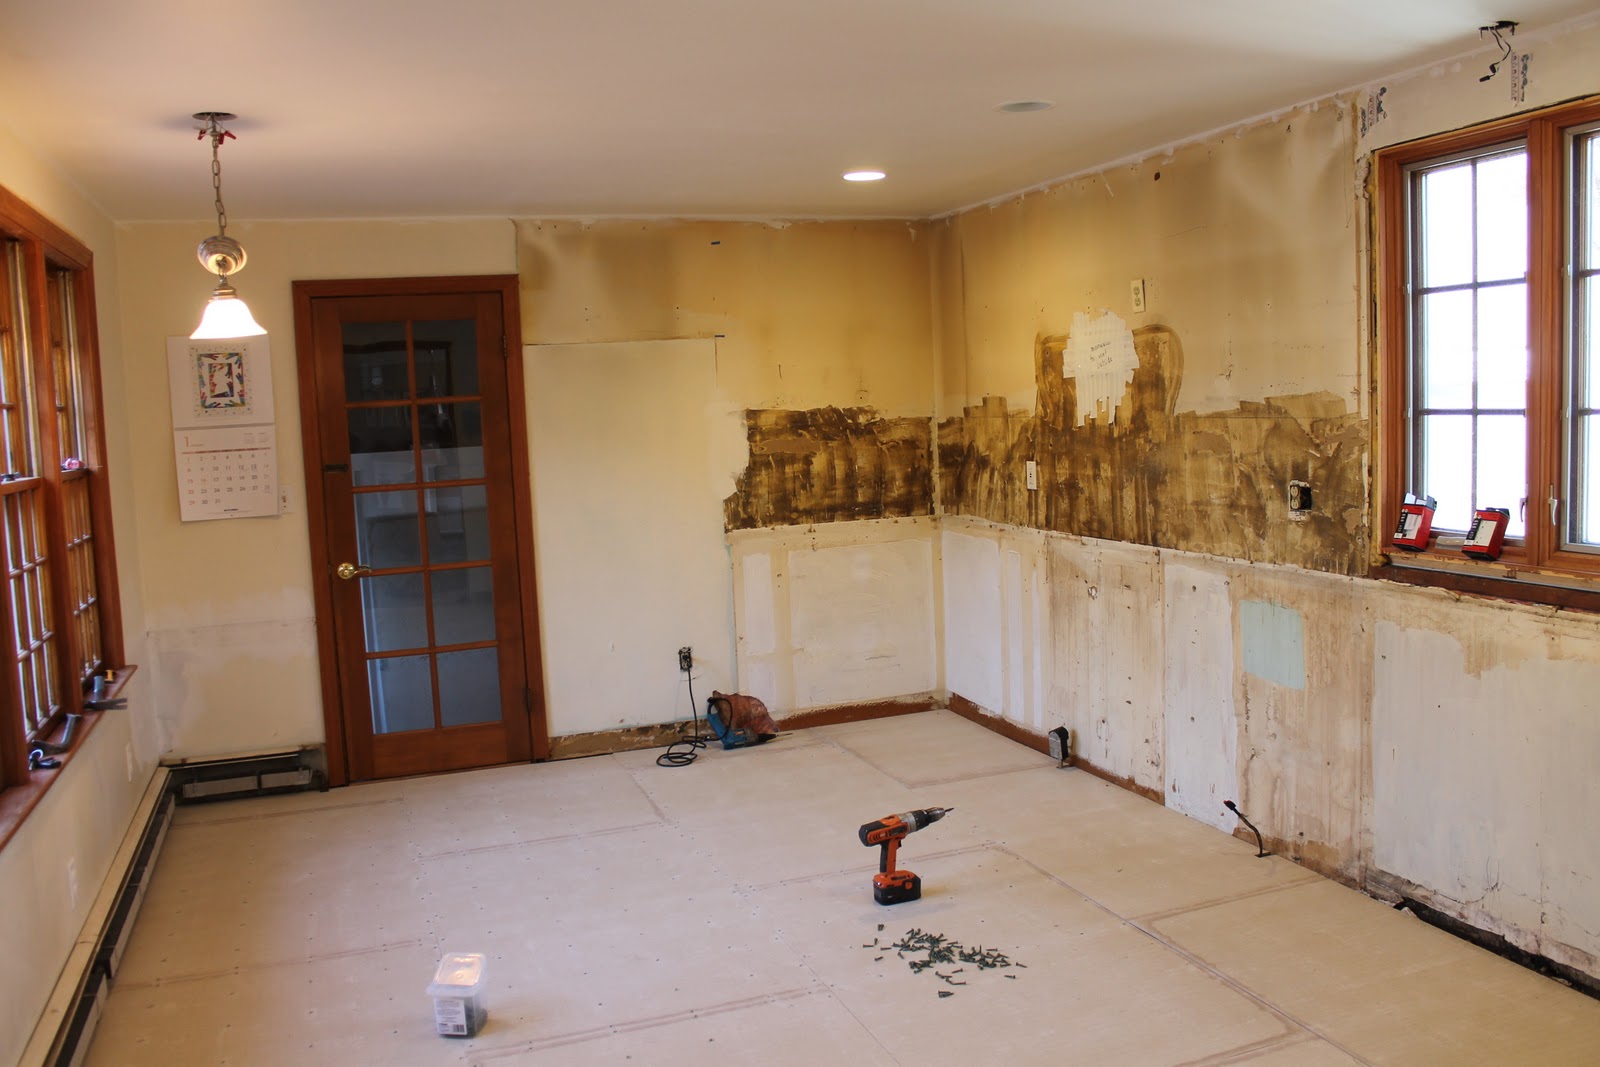
After what felt like the longest 3 days ever, our new tile floor is finally complete!  Scratch that...the final days of my pregnancy still hold the record for the most excruciatingly slow time passage ever - but this came in a distant second. 

There were a few steps we had to take to complete the new floor stage of our kitchen remodel.  First, the old pergo floors had to come up and then we ripped out a layer of laminate and luan.


That revealed another layer of laminate but because it was solid - ugly, but solid - we didn't need to tear that out. Instead, cement board was laid directly on top.


Our under floor heating mat was installed on top of the cement board.  As the rep at the tile shop promised, it was an easy process.  The mat was laid on top of a layer of thinset.  We let that dry for a day before another layer of thinset and then tile went directly over the mat.  I should add that the heating mat also came with a sensor that we kept attached to the wiring during the entire installation and tiling process.  The sensor would emit a loud "beep" if the wiring was ever compromised.  Luckily, we never heard the dreaded "beep".  How devastating would it be to spend all that money on a heating mat and tile only to discover that a wire had been torn and impossible to fix without tearing out newly laid tile?  In short, the sensor inventor is awesome.  I didn't snap a pic of the mat after it was stuck down to the cement board as I was too busy keeping anyone and anything out of the kitchen that might damage its delicate wires but below is a pre-thinset shot.  The mats come in many different sizes but because base cabinets will cover the wall to the right and more cabinets and a bench will eventually line the wall to the left, we opted for the 10x7 mat and not a larger one.  That would just be extra money to heat the floors under our cabinetry and we chose cabinetry that prefers the feel of cold floors.  Also, the final placement of the mat was further left than the picture below depicts.  You might be able to see markings on the floor at the bottom left of the picture that indicate where the corner of the mat eventually sat. (Click to zoom...)


The tile was laid and allowed to set for two whole days before grouting.


While it’s a relief to be done with this major step in our kitchen remodel, I’m still not able to fully enjoy the new floors because I’m blinded by the nasty walls and the orangey-toned trim.  Our new appliances are scheduled for delivery this Friday (eeeek!) so we’ll get crackin’ on installing our cabinets this week.  It might be overly ambitious but I think we should be able to put in a few hours each night after work and get most of the cabinets in by Friday.  We’re ok with finishing the cabinet-install next weekend but we’d like to have the majority of it done before Friday so we aren’t working around the new appliances.


I love you and I don't even know you...
 My fingers and toes are crossed that our cabinet install goes smoothly and we don't have much to report but I'll still try to document whatever I can!

Friday, February 3, 2012

out with the old...

...ugly, dingy, drab floor.  Our new floor tile is going down this weekend but, first, we had to tear up a few layers of old flooring.  It was a surprisingly easy task but unveiled an even uglier, faux brick laminate.  Hello, 1962.  The subfloor is super strong so we were able to lay cement board right on top of that.

Here are a few progress shots of our original floors, the even more original faux brick floors, and then the cement board...


And the view from the opposite side of the room....


The under-floor heating mat will go down today and tomorrow will bring some tile fun!

I should point out that the nasty brown stuff on the walls is just the leftover epoxy from the laminate backsplash.  We used a razor scraper to get most of it off to make the walls smooth enough to hold our new backsplash but there is some hideous discoloration left behind - that will all be covered up SOON!